
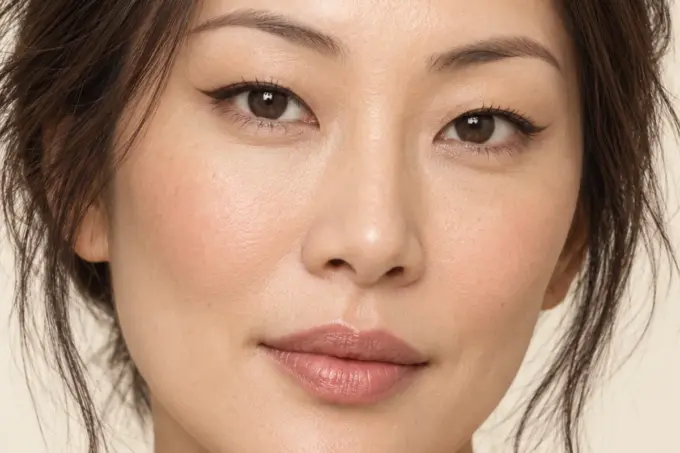
The most useful change when applying winged eyeliner for hooded eyes is to map the wing while looking straight ahead with your eye open. A line drawn only with your eye closed can disappear into a fold or change direction when you relax your face. The goal is a shape that works with your open eye, even if the closed-eye line looks less conventional.
Table Of Content
- Choose the liner you can control
- Winged eyeliner for hooded eyes in five steps
- 1. Find the space visible with your eye open
- 2. Mark the tip without stretching the skin
- 3. Draw the lower edge in a short stroke
- 4. Connect the wing while the eye stays open
- 5. Fill the gap and keep the lash line narrow
- Four wing styles to choose from
- The compact mini wing
- The soft shadow wing
- The fold-aware batwing
- The outer-corner accent
- Fix the specific problem
- Choose your next makeup guide
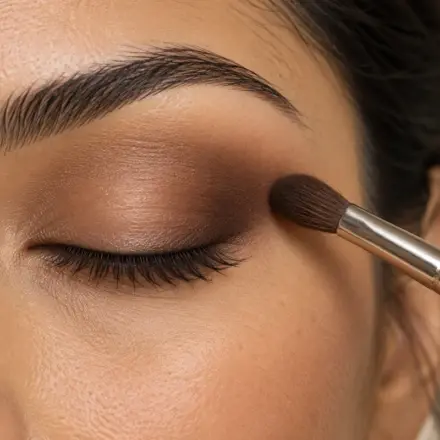
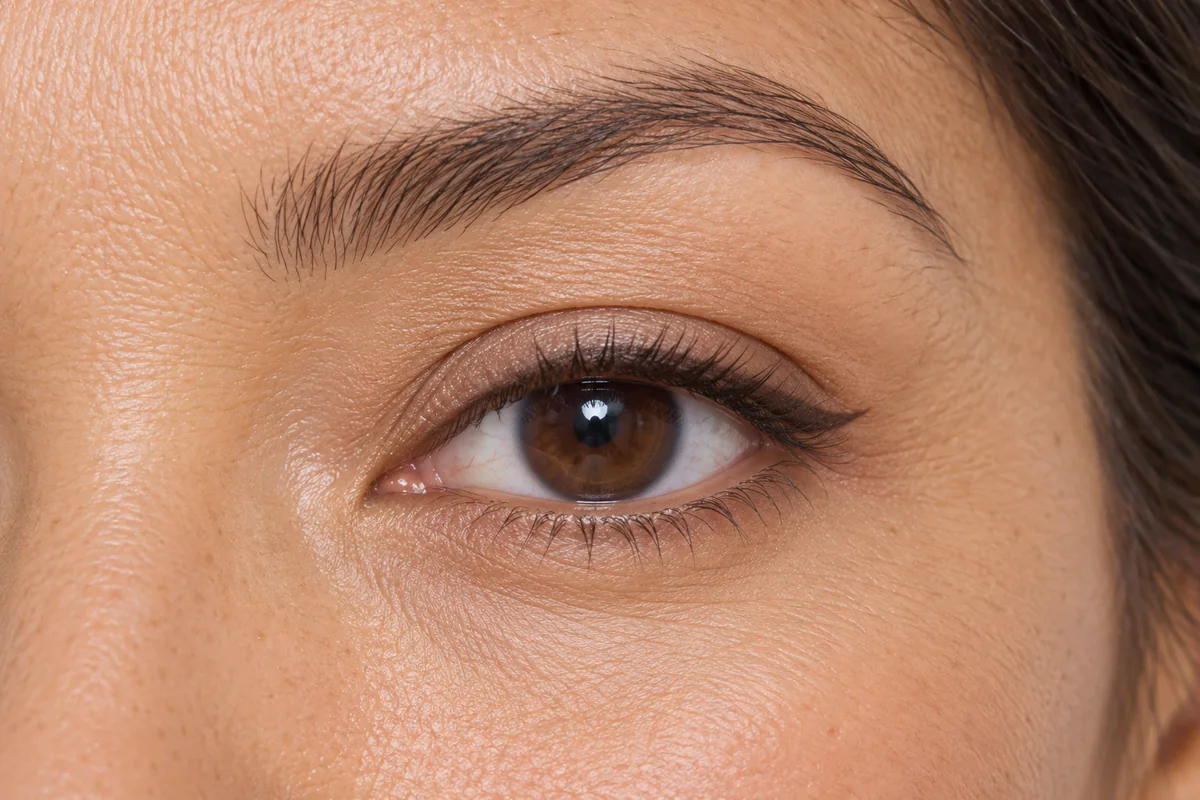
Visual note: The featured image and look examples in this guide are AI-generated illustrations, not product test results or exact placement maps.
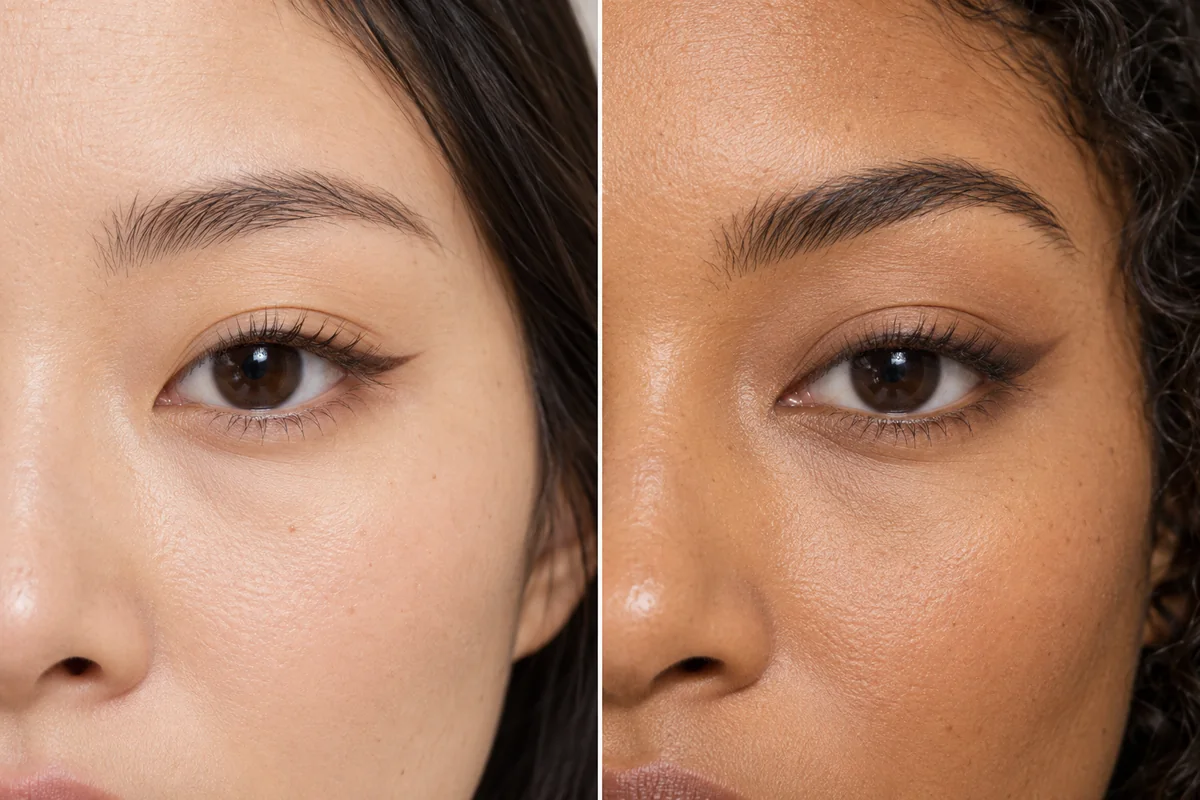
Try this first: Place a small dot where you want the wing to end, sketch a short lower edge from the outer lash line and connect it with a very thin line. Keep the first attempt small. A mini wing is a complete look, rather than a practice version you have to make longer.
Choose the liner you can control
A fine-tip liquid liner can make a crisp, narrow edge. A gel pencil can make a softer wing that is easier to blur. Brown eyeshadow on an angled brush lets you test placement before committing to a stronger line. You do not need to buy every type; begin with the product you find easiest to place in short strokes.
Use a mirror at a comfortable height and keep your brows relaxed. Raising your brows to stretch the lid can hide the very fold you need to plan around. Looking slightly down can help with the lash line, but check the wing straight ahead before filling it in.
Winged eyeliner for hooded eyes in five steps
1. Find the space visible with your eye open
Look forward and identify where the outer fold meets the area beside your eye. Decide whether a wing can stay below that fold or needs to cross it. Start with a short shape near the outer corner. There is no single correct wing angle for all hooded eyes.
2. Mark the tip without stretching the skin
Place a tiny dot where you want the wing to finish. Check the other eye and compare the overall direction rather than measuring both sides against an imaginary perfect line. Your natural outer corners may sit differently, so each wing may need a slightly different shape to look balanced.
3. Draw the lower edge in a short stroke
Connect the outer lash line to your dot. Use a light sketch first, particularly if the product dries quickly. Keep the endpoint short enough that it is easy to refine. If the stroke lands in the fold, pause and decide whether a lower mini wing or a fold-crossing shape is more practical.
4. Connect the wing while the eye stays open
Draw the top edge back toward the outer lashes, keeping the triangle small. If your fold interrupts the line, sketch the shape that looks connected from the front. When you close the eye, it may have a small step or notch. That is the idea behind a batwing shape: it prioritizes the visible open-eye result.
5. Fill the gap and keep the lash line narrow
Fill the small wing, then add a thin line along the outer upper lashes. Extend toward the inner lid only as far as you want. A thick line across the whole lid can use up the space you wanted to leave visible. Let the liner set according to its directions before checking for transfer.
Four wing styles to choose from
The compact mini wing
Choose it for: A quick, lightly defined eye. Keep the tip close to the outer corner and connect it only to the outer third of the lashes. This often avoids the need to cross a fold and is a useful first shape to practice.
The soft shadow wing
Choose it for: A blurred edge rather than a sharp flick. Press brown eyeshadow along the outer lash line using an angled brush, then extend the remaining pigment a short distance outward. Soften the top edge with a small clean brush without widening the whole shape.
The fold-aware batwing
Choose it for: A fold that cuts through the position where you want a stronger wing. Map the visible triangle with eyes open and allow a step where the fold changes direction. Fill the shape carefully. Do not keep smoothing the closed-eye notch if doing so makes the open-eye line too thick.
The outer-corner accent
Choose it for: Very little visible lid space or days when a full wing feels unnecessary. Use liner only along the outer lashes and add a tiny outward taper. Pair with mascara and a sheer lid shade. A wing does not have to extend far to create definition.
Fix the specific problem
| Problem | Try this |
|---|---|
| The tip disappears | Remap it with eyes open and try a shorter or slightly lower position outside the fold. |
| The wing becomes thick | Remove a little from the top boundary. Keep the lower edge and redraw a narrower top edge. |
| Liner transfers onto the fold | Check that skincare has settled, use less liner and allow the product its stated setting time. |
| The two sides look different | Compare with brows relaxed. Adjust the shorter or lighter side in small increments. |
| The edge looks jagged | Try short strokes or a soft shadow wing. More liquid liner can make a small jagged area larger. |
Keep remover on a small applicator controlled and away from the eye itself. Do not scrape at the skin to sharpen a line. For product-use precautions, read the FDA eye cosmetic safety guide: use products intended for eyes, keep tools clean and stop using a product that irritates.
Choose your next makeup guide